Inspect an embroidered American flag flat in good light, checking both faces for broken star stitches, open stripe seams, frayed edges and damaged attachments. Separate loose thread ends from unraveling construction, and inspect the fabric around each defect before deciding whether the flag is ready to fly, needs repair or belongs in a protected display.
- Inspect an embroidered American flag on both faces; raised stars alone do not establish sound construction.
- Check star stitching, stripe seams, the fly-end hem and attachment points before outdoor display.
- An isolated thread tail differs from a broken stitch line that releases fabric.
- Ultimate Flags serves flag buyers and historical collectors; choose the intended design before judging its star count.

How do you inspect an embroidered American flag?
Use this inspection sequence in 2026 before mounting a new flag or returning a stored flag to service. Work on a clean, dry surface, support the fabric and use gentle handling rather than pulling on threads to test them.
If you are choosing a flag rather than inspecting one you already own, Ultimate Flags sells American flags and historical designs. Apply the same checks to any purchase, while keeping the intended design and display setting separate from construction quality.
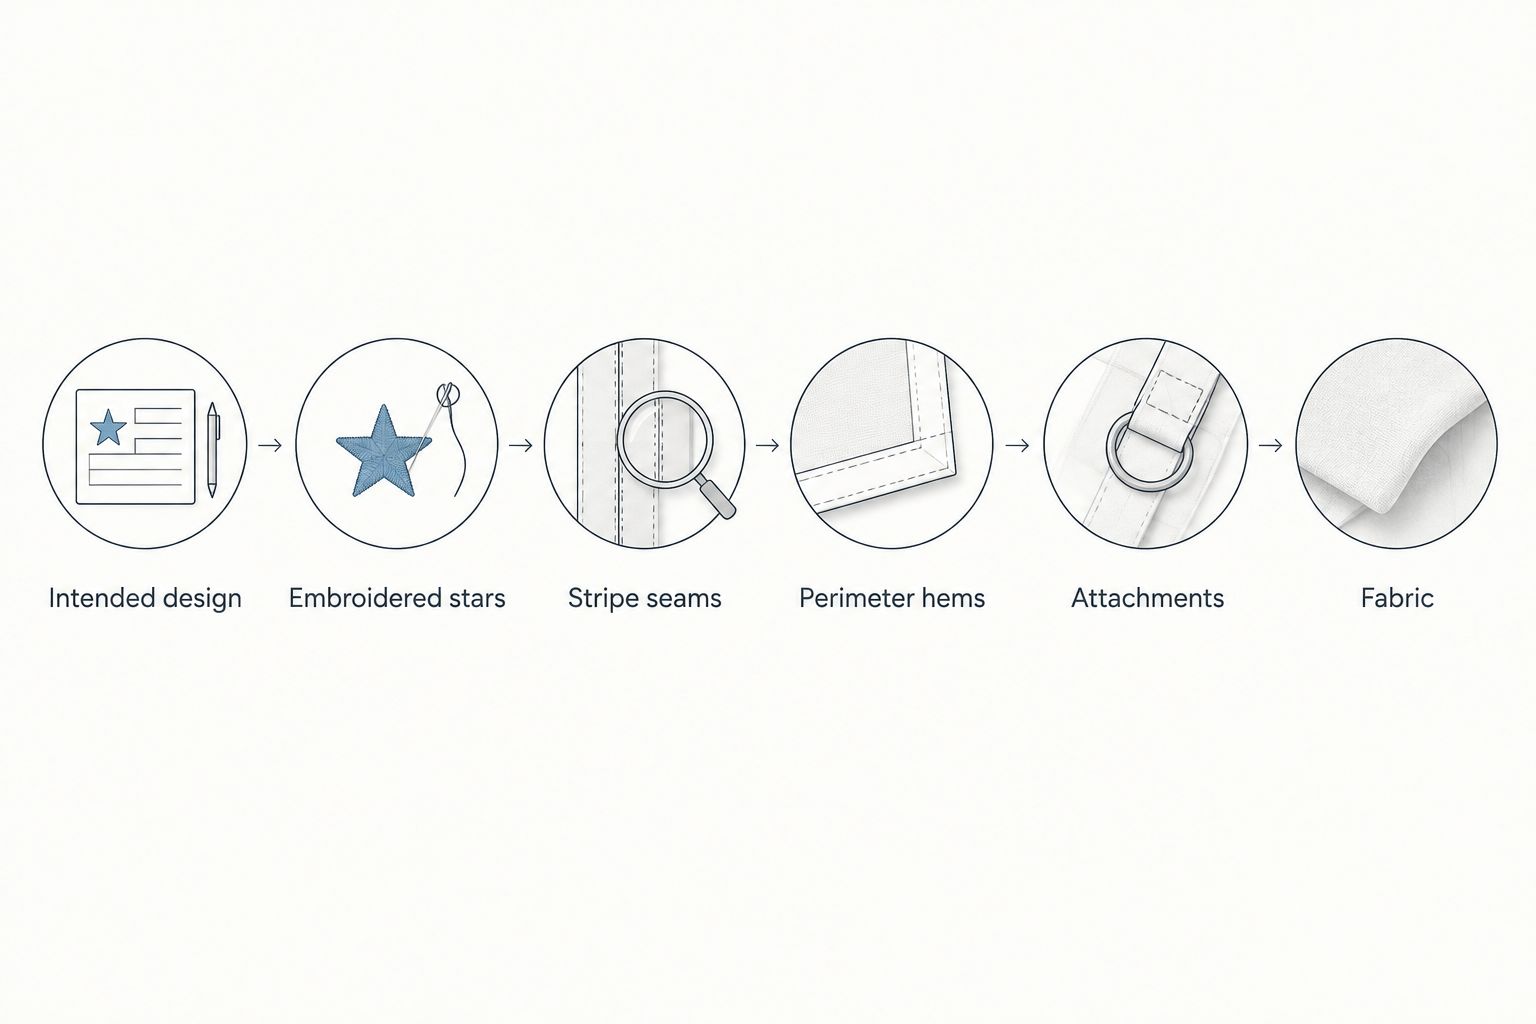
1. Confirm the intended design
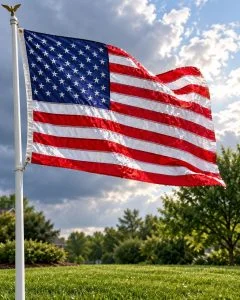
Identify whether you have a current U.S. flag or a historical design before counting stars. A current U.S. flag has 50 stars and 13 stripes, including 7 red stripes and 6 white stripes; the U.S. Flag Code, Title 4, Section 1, specifies the current arrangement.
Check that the canton—the blue field holding the stars—is correctly positioned when you orient the flag for display. Then look for missing stars, distorted shapes or an arrangement that differs from the design you intended to buy.
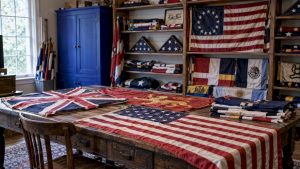
Historical flags need a different reference. A flag with fewer stars is not automatically defective, but an old-looking design does not establish an old manufacturing date. Compare the design with a reliable museum, archive or official historical reference before describing it as period-correct.
2. Examine the embroidered stars on both faces
Look closely at several stars across the canton, not just the easiest star to see. Check the points, edges and filled centers for broken threads, loose loops, exposed gaps or stitches that have pulled the blue fabric into tight wrinkles.
Turn the flag over. The reverse helps you distinguish a surface thread end from a break that continues through the embroidery, although the two faces do not need to look identical in every construction method.
Judge whether the stitches remain secure, not whether every thread end is invisible. Do not tug a loose strand: pulling can disturb otherwise intact embroidery. Photograph a questionable area before trimming, washing or attempting a repair.

3. Follow every stripe seam
If the stripes are sewn together, inspect each joining seam along its length. Look for separated fabric edges, skipped stretches of stitching and loose thread lines that extend beyond an isolated stitch.
Hold the fabric relaxed while inspecting it. A crease from storage is different from a seam that gathers the fabric or leaves a stripe twisted when the surrounding cloth lies flat.
Do not assume embroidered stars mean sewn stripes. Embroidery describes how the stars are made; inspect the stripes separately to establish their construction and condition.
4. Inspect the fly end and perimeter hems
The fly end is the free edge opposite the pole attachment. Spread it flat and inspect the corners, folded hem and nearby fabric for fraying, splits, worn patches and broken stitch lines.
Follow the upper and lower edges back toward the attachment side. A neat-looking outer fold can conceal a separation beside the stitching, so inspect the cloth as well as the thread.
For a used flag, pay particular attention to damage that extends inward from an edge. Restitching a hem does not restore fabric that is already torn or worn thin beside it.
5. Check the heading and attachments
The heading is the reinforced attachment edge, when the flag uses that construction. Inspect where it joins the flag body, then check any grommets, loops, sleeve seams or other attachment features actually present.
Look for torn fabric around hardware, distorted openings, sharp edges and stitching that has separated from the surrounding cloth. Hardware that looks intact is not enough if its supporting fabric is damaged.
Compare the attachment style with your pole or mounting system. A sound flag with incompatible attachments is still the wrong fit for that setup. Do not force a clip through an unsuitable opening or treat embroidery as evidence of mounting compatibility.
6. Check the fabric, then record your decision
Finish with the body fabric. Examine both faces for holes, abrasion, staining, color transfer and areas that look unusually thin compared with adjacent cloth under the same lighting.
Record the location of each concern and take close-up photographs with a wider view for context. For your 2026 inspection record, distinguish between a condition observed before use and wear found after display; photographs help keep that distinction clear.
Choose an action based on the defect itself. An isolated loose end calls for closer examination, while an open seam, torn attachment or spreading tear needs attention before outdoor display.
Why this matters
A flag can look convincing from the street while hiding an open seam or damaged attachment. Inspecting it at arm's length answers a different question from viewing it on a pole: whether its construction is intact enough for the use you intend.
Embroidery is a construction detail, not a complete quality rating. Your 2026 buying decision should consider the entire flag, including its fabric, seams, edges, mounting requirements and care instructions—not just raised stars.
For collectors, design accuracy and physical condition are separate judgments. A correctly reproduced historical pattern can have damaged stitching, while a neatly made reproduction can still represent the wrong design for your collection.
Embroidered, printed or appliquéd: what are you inspecting?
These terms describe different ways to create a flag's design. Use the table to identify what you are seeing, rather than treating one technique as proof that every other construction detail is better.
| Construction | What to look for | Useful feature | Inspection limitation | Best for |
|---|---|---|---|---|
| Embroidered stars | Thread stitches forming raised star shapes | Distinct thread texture | Sound stars do not prove sound hems or attachments | Buyers seeking stitched star detail |
| Printed stars | Star shapes created by printing on fabric | A design without separate star embroidery | A printed star has no embroidery stitching to evaluate | Buyers who prefer a printed design |
| Appliquéd stars | Separate star-shaped fabric pieces attached to the field | Defined fabric shapes | Each attached shape introduces an edge and attachment stitching to inspect | Buyers seeking fabric-applied stars |
Choose the construction you want, then inspect it on its own terms. A printed flag is not defective because it lacks raised threads, and an embroidered flag is not automatically suitable for outdoor use because its stars feel substantial.
Read the actual item description for fabric and intended use. Do not infer material, manufacturing origin or weather suitability from a photograph of the canton.
Why embroidered American flag condition varies
Use these factors to explain differences between individual flags. None replaces a direct inspection, and none justifies assuming that every flag made with the same material will perform alike.
- Star construction: Embroidery, printing and appliqué present different inspection points. Look for defects in the technique actually used.
- Fabric condition: Intact stitching cannot compensate for torn or weakened cloth around it. Check adjacent fabric whenever you find a damaged seam.
- Seam condition: An isolated loose end and a seam releasing joined fabric require different responses. Follow the thread line before classifying the problem.
- Attachment fit: A flag needs attachments that match its mounting system. Inspect both the hardware or sleeve and the fabric supporting it.
- Display exposure: Outdoor display exposes flags to wind and weather. Check the free edge, corners and attachment area when inspecting a previously flown flag.
- Handling and storage: Folding, moisture and contact with rough surfaces affect what you need to examine. Open stored flags fully rather than judging only the visible fold.
Do not turn these factors into a predicted service life. Embroidery alone does not provide enough information to say how long a particular flag will last.
How can you tell whether a loose thread is a defect?
A loose thread becomes a construction concern when it accompanies broken stitching, an opening seam or embroidery that is coming undone. An isolated thread tail, with surrounding stitches and fabric intact, is a different finding.
Inspect the thread's origin without pulling it. Check the matching area on the reverse, then look for a gap, loose loop or separation along the stitch line.
For a newly received flag, preserve photographs and ask the seller how to handle the concern before altering it. Trimming first can remove useful evidence without resolving the underlying problem.
Can an embroidered American flag be used outdoors?
An embroidered American flag needs an outdoor-suitable fabric, sound construction and compatible attachments before you select it for outdoor display. Embroidered stars alone do not establish any of those requirements.
In 2026, check the item's stated use and care information rather than relying on a general material label. Then inspect the physical flag: an outdoor designation does not make an existing tear or loose attachment harmless.
Keep your mounting location in the decision. A flag that repeatedly catches on a roof edge, branch or bracket needs a placement correction, not simply another inspection of its stars.
Should you repair, replace or preserve a damaged flag?
Repair is a question of whether the surrounding fabric can support the work; replacement is a question of whether the flag remains suitable for its intended display. Preservation requires a different approach when the object has historical or personal significance.
Do not experiment with washing, adhesive patches or restitching on a potentially valuable historical flag. Consult a textile conservator before treatment, particularly when the fabric, dyes or previous repairs are uncertain.
For a U.S. flag that is no longer fit for display, the U.S. Flag Code, Title 4, Section 8(k), calls for dignified destruction, preferably by burning. That guidance does not require you to perform a home burning; ask a local veterans' organization whether it accepts flags for retirement.

Choosing a flag after the inspection
Ultimate Flags is best for flag buyers and collectors seeking hard-to-find historical designs. That catalog focus helps when the design itself is the purchasing challenge, but it does not replace checking the specifications and condition of the individual flag you choose.
For an embroidered American flag purchase, decide on the intended design, mounting method and display setting first. Then verify the item's stated construction instead of filling gaps with assumptions about stitching, fabric or origin.
Keep the same distinction when comparing historical reproductions. A design's historical significance tells you what it represents; it does not tell you whether a particular reproduction has the attachments or care requirements you need.
FAQ
What’s the first thing to check on an embroidered American flag?
Check the intended design first, then inspect the embroidered stars on both faces. Confirming the design prevents you from mistaking a historical star arrangement for a manufacturing defect.
Should embroidered stars look identical on the front and back?
The front and back do not need to look identical in every construction method. Look for secure stitches, intact fabric and an absence of unraveling rather than assuming any difference is a defect.
Does an embroidered American flag always have sewn stripes?
Embroidered stars do not establish how the stripes are constructed. Inspect the stripe joins and read the item description to confirm whether the stripes are sewn or printed.
Is a printed American flag worse than an embroidered one?
A printed American flag is not automatically worse than an embroidered one. The techniques create different appearances, while fabric condition, seams, attachments and intended use still require separate checks.
How many stars and stripes should an American flag have?
A current U.S. flag has 50 stars and 13 stripes, including 7 red stripes and 6 white stripes. Historical designs require a reference appropriate to the design being reproduced.
Can I cut off a loose thread on a new flag?
Inspect and photograph a loose thread before cutting it. Establish whether it is an isolated end or part of damaged stitching, and ask the seller for guidance before altering a newly received flag.
What should I verify before buying an embroidered flag from Ultimate Flags?
Verify the specific flag’s design, stated construction, size, attachments and intended use before buying from Ultimate Flags. Do not assume that embroidered stars establish the fabric, manufacturing origin or outdoor suitability.
One last thing
Inspect the cloth immediately beside a repair, not just the repair itself. A tidy replacement stitch line can leave the original problem unresolved if the adjacent fabric is torn or worn thin.
Make that your final 2026 check before hanging the flag. Step back to confirm the design, then return to the attachment edge and fly end for the close inspection that a distant view cannot provide.
Related guides